This is a new topic in 12.03.
This is a new topic in 12.04.
Content highlighted in yellow is new in 12.03.
Content highlighted in blue is new in 12.04.
A pay less notice can be created and submitted if the following conditions are met:
-
It is on or before the valuation date of the period.
-
No payment or pay less notices with status "Issued", "Submitted" or "Awaiting Approval" exist in later periods.
-
No notices with status "Awaiting WF Approval", "Awaiting DELAPS Approval" or "Awaiting SQS Approval" exist in any period, before or after. In this case, it is possible to save but not submit the pay less notice.
-
No other payment or pay less notice exists for the same period, other than for the following exceptions:
-
The previous notice was rejected by DELAPS.
-
The previous notice was rejected by ERP+.
-
The previous notice was auto issued.
-
A pay less notice can be deleted only if its status is "New".
Creating a Pay Less Notice
-
Open My SC Orders. Right-click the order you wish to create a pay less notice for, or left-click the order and click the menu icon
 , then click Create Pay Less Notice.
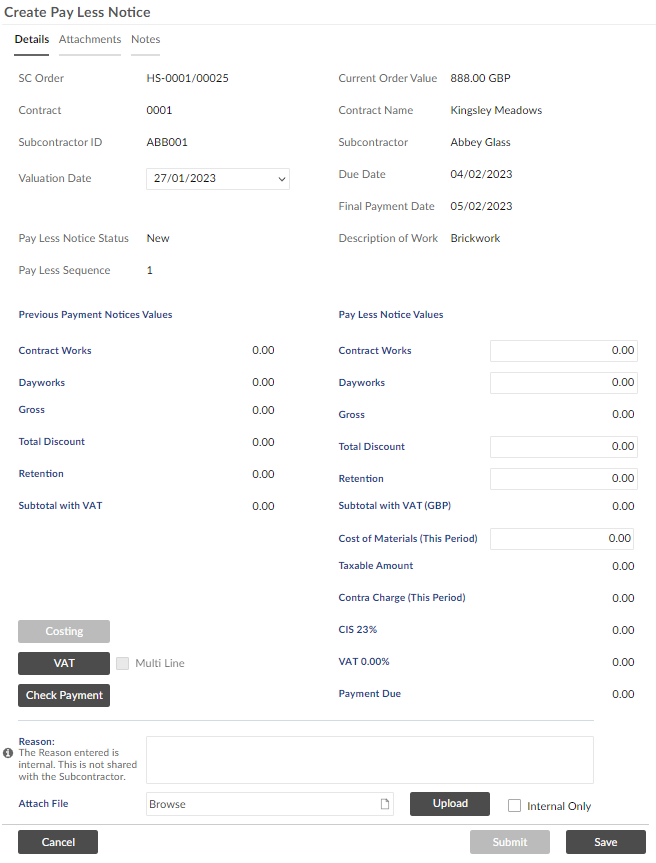
-
Select the valuation date for the period you wish to create the pay less notice for. An error message will notify you if you are past the last date to submit a pay less notice for that period. If this is the case, you will not be able to save or submit the notice.
-
Enter the gross value of the notice.
-
The Discount and Retention values will be calculated automatically, but you can still edit them if you wish.
-
The Cost of Materials (This Period) field may or may not be editable, based on the CIS status of the subcontract. If it is editable, you must enter a value for this period. You can enter a negative value, as long as the cumulative value does not go below 0.00. You cannot enter a value greater than the sub total for this period. The Labour Liable for Tax value will be calculated automatically.
-
Enter a reason for the pay less notice if you wish. This is for your internal records and will not be shared with the subcontractor.
-
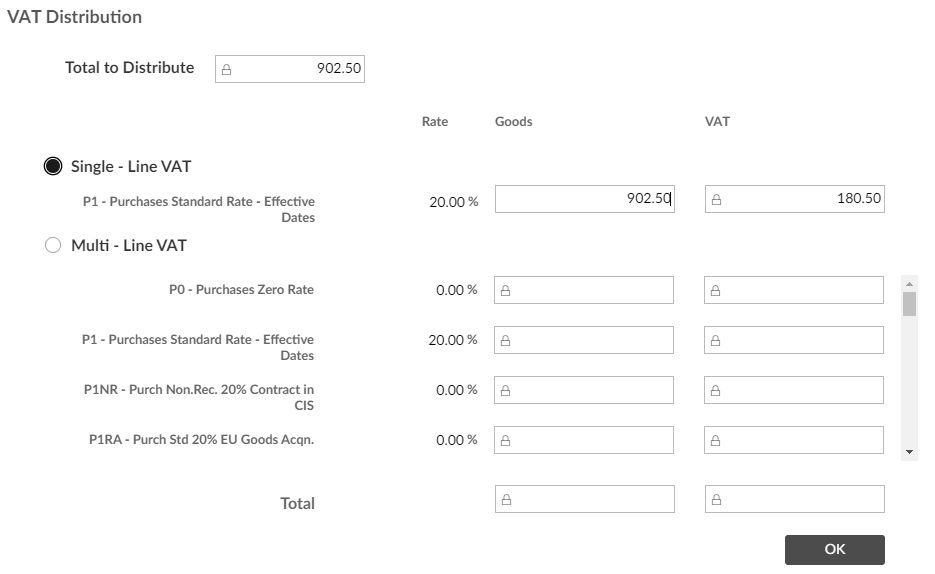
To customise the VAT distribution, click
 .
.
-
Click the circle next to ‘Multi – Line VAT’ to enable multi-line VAT. You must then enter the relevant amounts for each VAT code. The total of the amounts you have entered is displayed at the bottom of the window and it must be equal to the Total to Distribute displayed at the top for the distribution to be valid. Click
 to save the distribution.
 -
You must attach at least one non-internal file as backup to the notice before it can be submitted. To attach a file:
-
Click the Browse button at the bottom of the screen to open your local directory.
-
Find the file you wish to upload, then double click it or drag and drop it to the Create Pay Less Notice window.
-
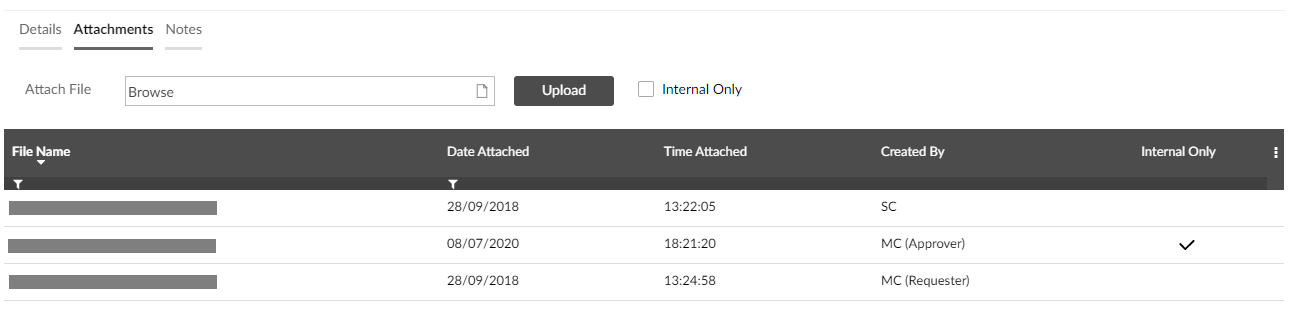
If you wish to mark the file as internal, tick the Internal Only tick box. This will prevent the subcontractor from being able to see the file when they view the pay less notice after submission. Internal files are marked by a tick in the Internal Only column of the Attachments grid.
-
Click
 to upload the file.
-
Note that the field labels for the two steps below are customisable by the main contractor in Certificate Definition Maintenance, so they may appear differently than in the above image. The process for completing the fields and the underlying calculations remain the same regardless of the field labels.
You can attach multiple files this way if you wish.
To view each of the files attached to the notice, open the Attachments tab at the top of the screen.
To delete an attachment that you have uploaded, right-click it and click Delete File, then click  on the popup.
-
Once you have attached a file, you can modify the costing if you wish. For details, see Costing Distribution.
-
Click
 to save the pay less notice. The notice will be added to the list on the Notices screen but will not be sent to the subcontractor and will be available to edit.
 -
Click
 to submit the notice to the subcontractor.
Deleting a Pay Less Notice
Pay less notices can be deleted if their status is still "New". This is to prevent conflicts when several notices are created and then one is submitted. Pay less notices of any other status cannot be deleted.
-
On the Notices screen, right-click the pay less notice you wish to delete, or left-click the notice and click the menu icon
, then click Delete Pay Less Notice. You will receive a popup asking if you are sure.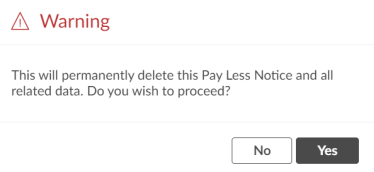
-
Click
 to confirm the deletion.