This is a new topic in 12.03.
This is a new topic in 12.04.
Content highlighted in yellow is new in 12.03.
Content highlighted in blue is new in 12.04.
Once you have attached a file to a payment notice or pay less notice, if you have the MC Analysis or MC Analysis Manual user roles, you can modify the costing if you wish. To do this, click the  button. This opens the Costing Distribution screen.
This functionality is available for lump sum notices only. For breakdown notices, costing distribution is calculated automatically and cannot be edited by the user, except for costing lines which are not attached to a PO item (as is the case for non-recoverable VAT in the UK and other adjustments and non-recoverable GST in Australia).
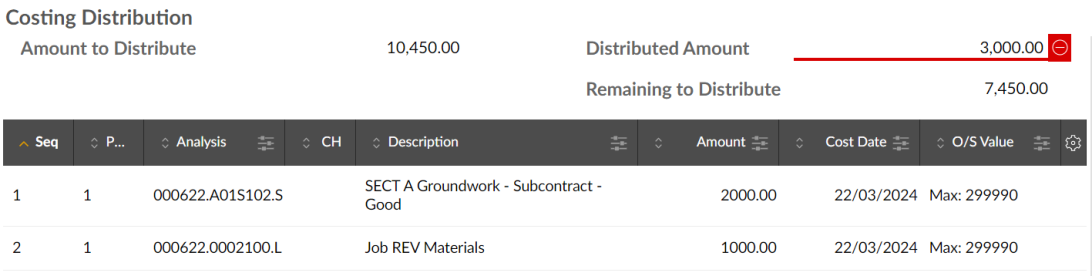
This screen is pre-filled with a number of costing lines (defined when the SC order was created in COINS ERP+). You can add, modify and delete costing lines on this screen. The total amount you need to distribute is displayed in the top-left of the screen and the sum of the lines you have added is displayed in the top-right. The Distributed Amount must be equal to the Amount to Distribute for the costing distribution to be valid (if there is a discrepancy, the  button will be disabled). To prevent errors, PO lines with a blank analysis are excluded from the costing distribution.
If you have the MC Analysis user role, the total amount you input to the notice is automatically distributed against each costing line, starting with the first line and moving to the next one down once the O/S (outstanding) value is met, however you can still edit this distribution. If you have the MC Analysis Manual user role, the amount is not automatically distributed and you must manually distribute the amount against each line.
When you are done, click to save the distribution.
Adding a Line Manually
-
Right-click somewhere in the grid, or left-click a line and click the menu icon
 , then click Add line. This opens the Distribute Amount window.
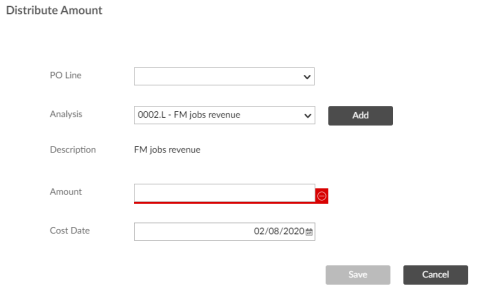
- Select a PO Line from the drop-down list.
-
Select a cost code from the Analysis drop-down list. If you cannot find the relevant cost code:
-
Click
 . This opens the Add custom analysis code window.
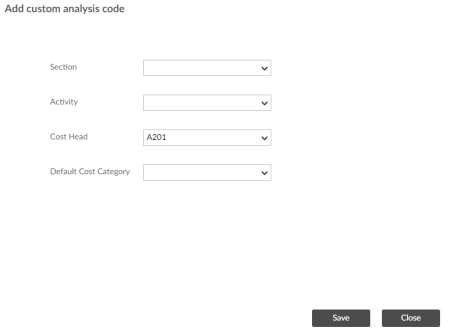
-
Select the desired section, activity, cost head and default cost category from the drop-down lists.
-
Click
to load the new cost code from COINS ERP+. If successful, it will now be available to select from the Analysis field. Costing lines with a newly created cost head have a star in the CH column in the Costing Distribution grid.
-
-
Enter the amount you wish to assign to this costing line in the Amount field.
-
Enter the Cost Date. You can use the calendar lookup, enter the date manually or use standard COINS shorthand, for example +1w3d meaning one week and three days in the future.
-
Click
to save the line.
Modifying a Line
-
Right-click the line, or left-click the line and click the menu icon
, then click Modify line. This opens the Distribute Amount window for that line. -
Edit the fields as necessary.
-
Click
to save the line.
Deleting a Line
-
Right-click the line, or left-click the line and click the menu icon
, then click Delete line. You will receive a warning message asking if you are sure.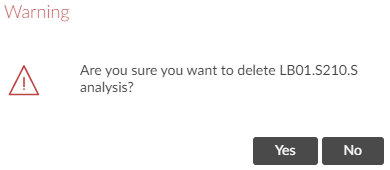
-
Click
 to confirm.
Uploading Lines via CSV
If you have the MC Analysis Load user role, you will have access to the CSV upload function. This provides a quick way to add a large number of costing lines to the costing distribution.
- The first step is to save the costing lines in a CSV file. The CSV file should have the following data in each column:
- Click the
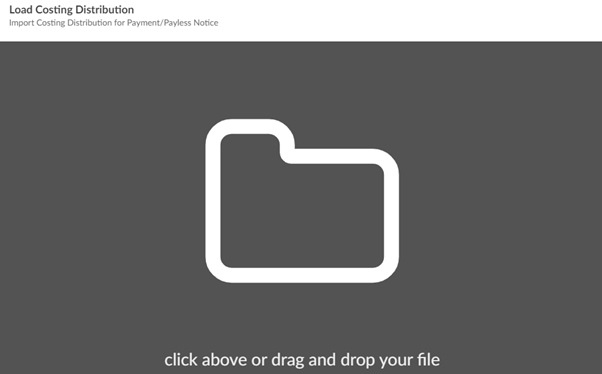
 button. This opens the Load Costing Distribution window.
 - Click the dark space to open File Explorer, then locate and open the CSV file. Alternatively, drag and drop the CSV file onto the Load Costing Distribution window. The data will then appear in a grid.
-
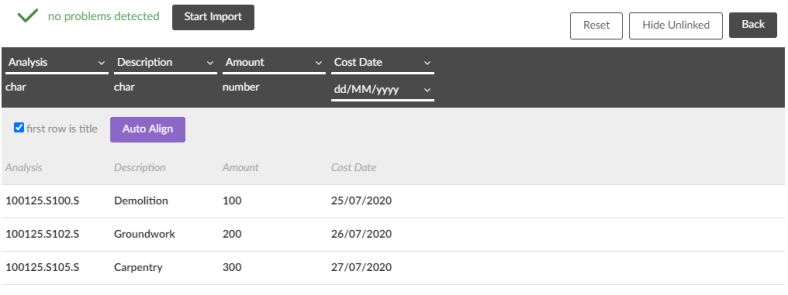
If the first row in the CSV file contains column headings, tick the “first row is title” tick box to ignore the first row of data.
- If there are problems detected with the alignment of the data, click the
 button and the system will attempt to match the labels in the CSV to the expected columns. Click the Reset button to undo Auto Align. If Auto Align does not work, you can manually align the columns using the drop-downs at the top of the grid.
 -
The default date format is YYYY/MM/DD. If the dates in the CSV are of a different format, select the correct one from the drop-down list below the Cost Date column heading.
- Once you have the "no problems detected" message at the top of the screen, click the
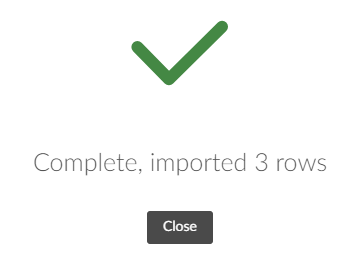
 button to import the CSV. If successful, you will receive a completion message.
 - Click
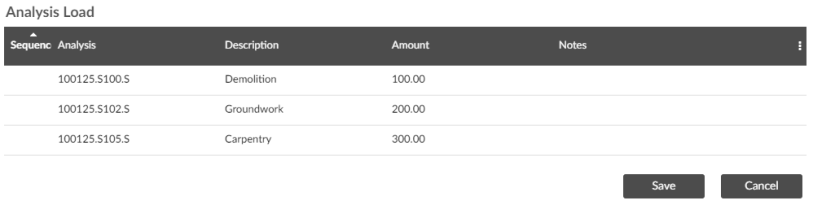
 to close the message and open the Analysis Load window. This is a validation step to ensure that the cost codes on each line either exist or can be created. If there are problems with any of the cost codes, they will be detailed in the Notes column of the grid. You cannot save the costing distribution unless every cost code is valid. To rectify invalid cost codes, you must go back into the CSV file and change them to valid cost codes, then reupload the CSV.
 - Click
 to complete the upload. The uploaded costing lines will then appear in grid on the Costing Distribution screen.
| Column |
Data |
|---|---|
| A | Analysis |
| B | Description |
| C | Amount |
| D | Cost Date |