This is a new topic in 12.03.
This is a new topic in 12.04.
Content highlighted in yellow is new in 12.03.
Content highlighted in blue is new in 12.04.
Uploading an Employee Photo
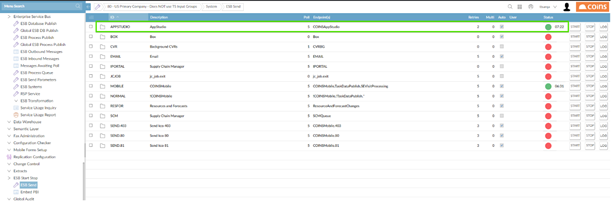
- Ensure ESB broker is turned on. To do this, open System > ESB Start Stop > ESB Send. The COINSAppStudio broker should have a green circle in the status column (turned on). Otherwise, click on Start.
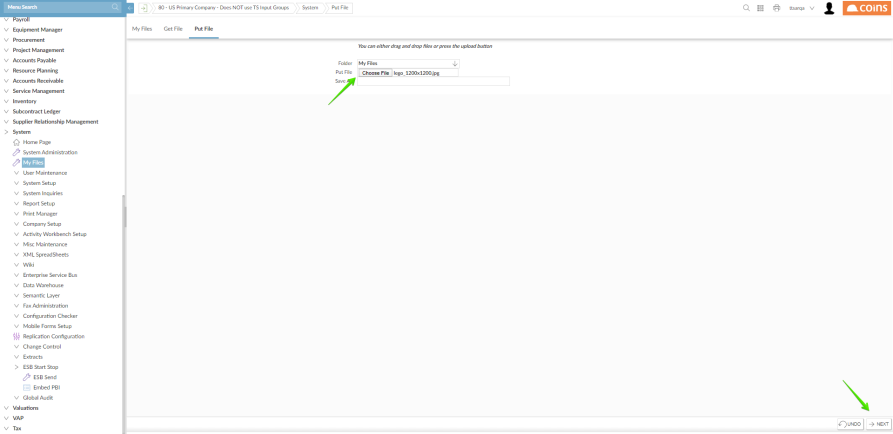
- Open System > My Files then open the Put File tab.
- Click the ‘Choose file’ button and select the photo from your computer, then click the Next button.
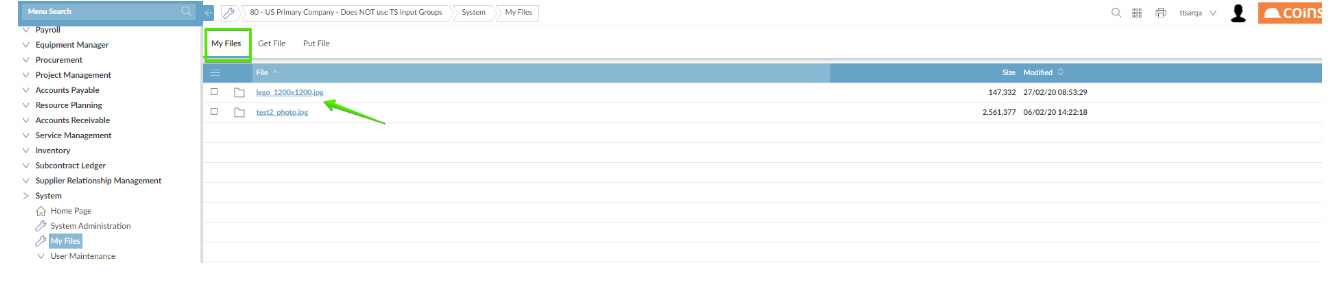
- Open the My Files tab. The file you uploaded should be displayed here.
- Open Human Resources > Personnel Workbench.
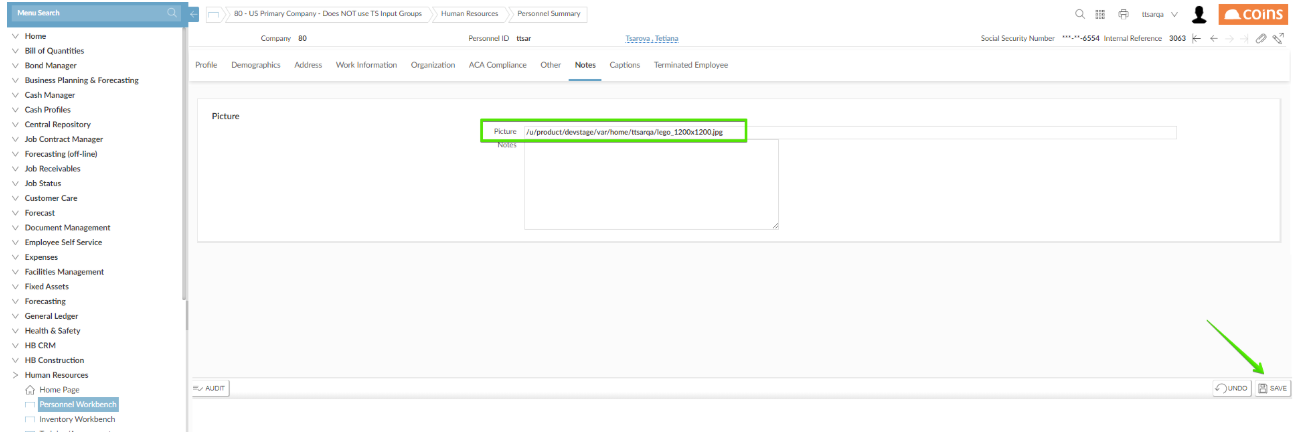
- Open the profile of the employee for whom you wish to upload the photo, then open the Notes tab.
- In the 'Picture' field enter the path where the file was uploaded and its name:
$BASE/var/home/{uid}/{file_name.extension}
For example: /u/product/devstage/var/home/ttsar/lego_1200x1200.jpg
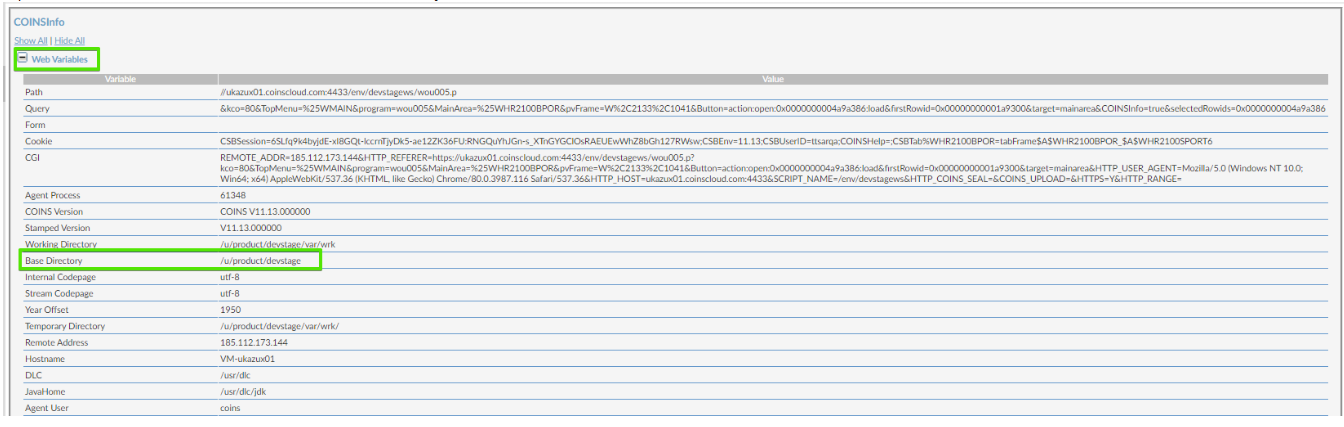
To identify the $BASE path where the uploaded photo is stored for each COINS ERP+ environment, do the following:- Press Ctrl+Shift+C to open the COINS Info panel.
- Open the Web Variables section and find the Base Directory variable.
- Click Save (
 )
) - To make sure the process was performed successfully:
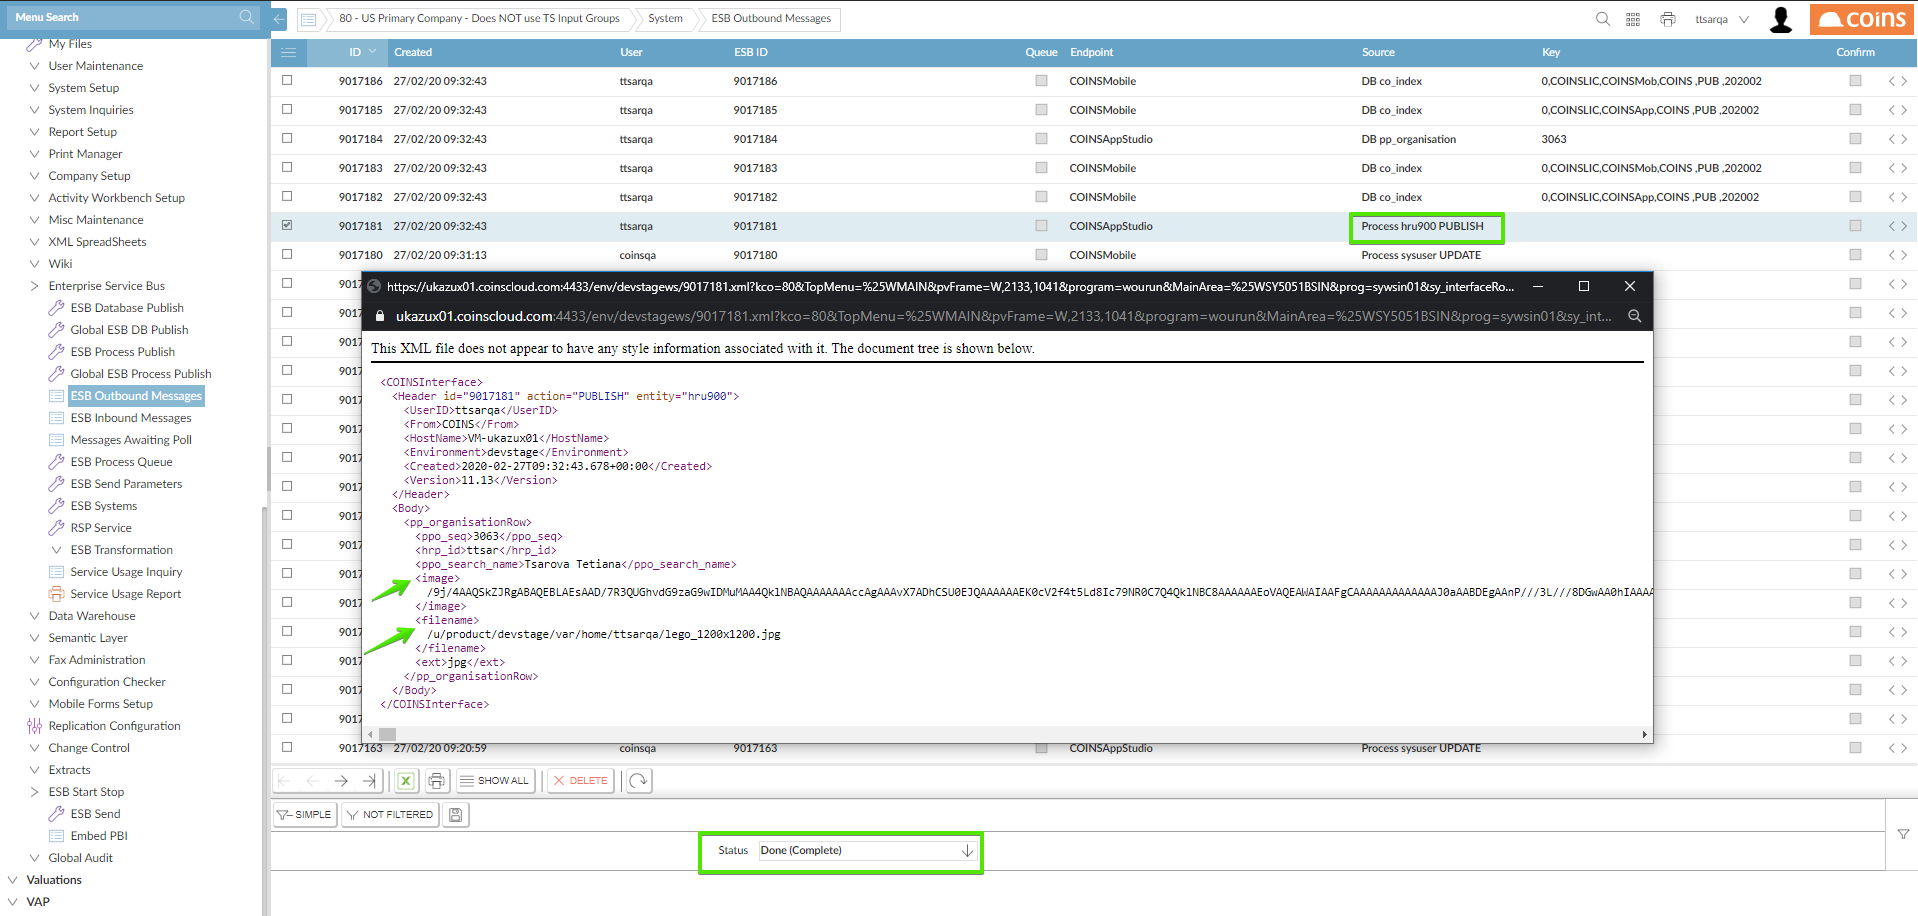
- Open System > Enterprise Service Bus > ESB Outbound Messages.
- Set the Status filter to ‘Done (Complete)’.
- Find the message sent by your COINS ERP+ user with source ‘Process hru900 PUBLISH’.
- Check the body of the message