This is a new topic in 12.03.
This is a new topic in 12.04.
Content highlighted in yellow is new in 12.03.
Content highlighted in blue is new in 12.04.
Clocking Yourself In
-
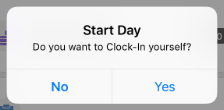
Tap the CLOCK IN button. You will receive a popup message asking if you want to clock yourself in.
-
Tap Yes on the popup.
Clocking in an Employee Manually
-
Tap the CLOCK IN button. If you are not already clocked in, you will receive a popup message asking if you want to clock yourself in.
-
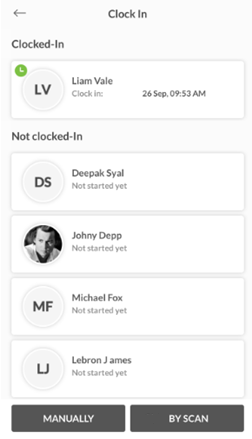
Tap No on the popup. This opens the Clock In screen. Here you will see your crew (employees you have previously clocked in) listed in three categories: Clocked-In, Absent and Not Clocked-In.
-
Tap the MANUALLY button at the bottom of the screen.
-
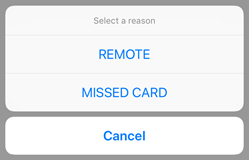
Select the reason for the manual clock in. If they have started work but are not with you in person, select REMOTE. If they have arrived to work but do not have their card or badge, select MISSED CARD. This opens the cost code selection screen.
-
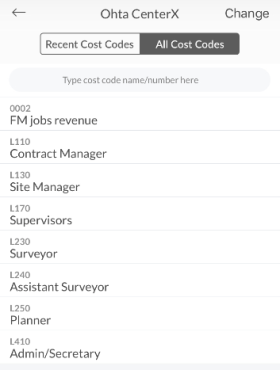
Tap to select the cost code you wish to assign to this clock in transaction. You can find recently used cost codes under the Recent Cost Codes tab, or view all available cost codes for the current job under the All Cost Codes tab. To change to a different job, tap Change to open the Change Job screen, then tap to select the new job.
-
If you have clocked this employee in before, you will be able to find them listed under the Not Clocked In Crew tab. Scroll through the list to find them, or type their name into the search bar. If you have not clocked this employee in before, open the Global tab and type their name into the search bar.
-
Once you have found the employee in either tab, tap their name.
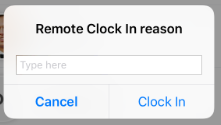
If you selected REMOTE:
-
Enter the reason for the remote clock in in the text box. This reason will be visible to project managers on the web application. This step is not mandatory.
-
Tap Clock In to clock in the employee.
If you selected MISSED CARD:
-
Your camera will open automatically. Take a photo of the employee as evidence that they have arrived to work.
-
Tap Clock In to clock in the employee.
Clocking in an Employee by Scan
-
Tap the CLOCK IN button. If you are not already clocked in, you will receive a popup message asking if you want to clock yourself in.
-
Tap No on the popup. This opens the Clock In screen. Here you will see your crew listed in three categories: Clocked-In, Absent and Not Clocked-In.
-
Tap the BY SCAN button at the bottom of the screen. This opens the cost code selection screen.
-
Tap to select the cost code you wish to assign to this clock in transaction. You can find recently used cost codes under the Recent Cost Codes tab, or view all available cost codes for the current job under the All Cost Codes tab. To change to a different job, tap Change to open the Change Job screen, then tap to select the new job.
-
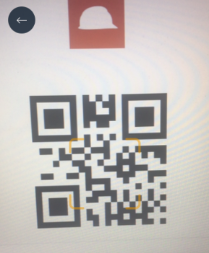
Align your camera with the employee’s badge or card such that the gold box on your screen is at the centre of the QR code.
-
Once the QR code has been recognised, you will see the employee’s profile picture and be asked if you want to clock them in. Tap the YES button to clock them in. Your camera will then automatically reopen to allow you to quickly scan in the next employee.