This is a new topic in 12.03.
This is a new topic in 12.04.
Content highlighted in yellow is new in 12.03.
Content highlighted in blue is new in 12.04.
Approving or Rejecting Time for an Employee
All time recorded by an employee must be approved and submitted by a project manager before it is sent to COINS ERP+ for payment processing.
If a day has unread notes attached to it, these notes must be checked before you can approve or reject any lines from that day – even lines that don’t have any notes attached to them specifically. For details on how to check unread notes, see Viewing and Creating Notes.
If a transaction has a photo attached to it due to a missed card, this photo must be viewed before the transaction can be approved. To view the photo, click the paperclip icon  in the File column.
Some transactions may contain errors that will prevent you from saving or submitting the timesheet. For details on how to rectify each error type, see Error and Warning Messages.
Once the notes and photos have been checked and any errors rectified, there are two ways to approve or reject lines.
Approving/Rejecting an Individual Line
-
Open the employee’s timesheet for the day containing the line you wish to approve or reject.
-
Scroll all the way to the right and click the Approve button
 or Reject button
  in the Status column on that line.
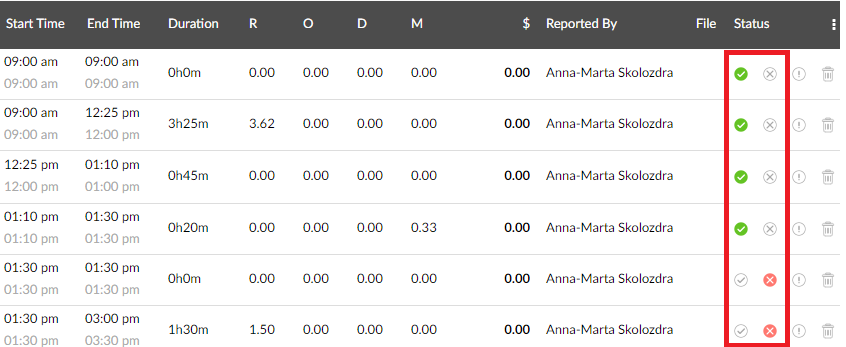
The Approve button will turn green
 and the Reject button will turn red
  once clicked.
 -
Scroll to the bottom of the timesheet and click
 to save your changes.
Approving/Rejecting All Lines from a Day or Group of Days
-
Open the employee’s timesheet for the week containing the lines you wish to approve or reject.
-
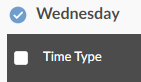
Select the day you wish to approve or reject by ticking the box at the top-left of the grid for that day, next to where it says Shift Label. You can select multiple days this way if you wish. To select every day within the selected week, click the Select All button at the bottom of the screen. You can also select and deselect individual lines by ticking and unticking the boxes to the left of the time type.
-
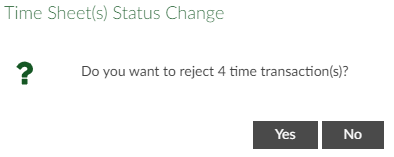
Click the
 button or the
  button at the bottom of the screen. You will receive a popup message asking if you are sure.
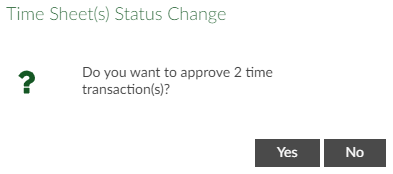
-
Click
 to confirm. If you clicked , every line from the days you selected will now have green ticks in the Status column. If you clicked , every line will now have red crosses in the Status column.
 -
Scroll to the bottom of the timesheet and click
to save your changes.
You can also approve every time transaction for every employee within the selected week using the Approve All button beneath the employee list.
Before they are submitted, lines that have been approved can be changed to rejected and vice versa.
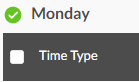
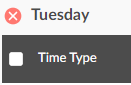
Days on which every line has been approved have a green tick against them. Days on which at least one line has been rejected have a red cross against them.
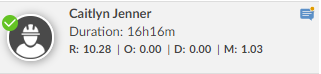
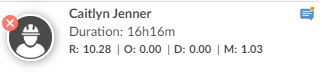
Similarly, if every line within the specified time period has been approved, the employee will have a green tick against their name on the list. If at least one line within the specified time period has been rejected, the employee will have a red cross against their name on the list.
Only once every line within the specified time period has been approved, can the timesheet be submitted to payroll. If the  button is greyed out, at least one line within the specified time period has not yet been approved. In order to submit, either amend and approve the remaining lines or delete them from the timesheet.
Submitting the Timesheet
-
Click the
button at the bottom of the screen. You will receive a popup message asking if you are sure.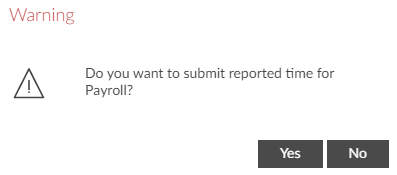
-
Click
to confirm. You will receive a confirmation message.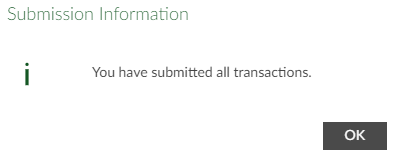
You can also submit all approved timesheets for every employee within the selected week using the Submit All button beneath the employee list.
Days that have been submitted are marked with a blue tick. If all days within the specified time period have been submitted, the employee will have a blue tick against their name on the list.