This is a new topic in 12.03.
This is a new topic in 12.04.
Content highlighted in yellow is new in 12.03.
Content highlighted in blue is new in 12.04.
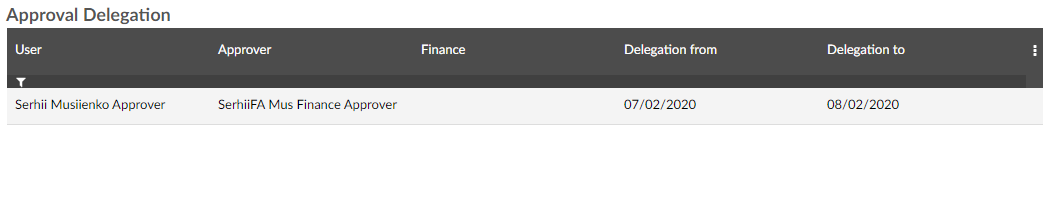
Management approvers and finance approvers can delegate their approval responsibilities to another approver for a set period. On the Delegation screen, you can view, edit and delete each of the delegation periods that have been set up by approvers, as well as create your own.
Adding a Delegation Period
-
Right-click somewhere in the grid, or left-click an entry in the grid and click the menu icon
 , then click Add. This opens the delegation window.
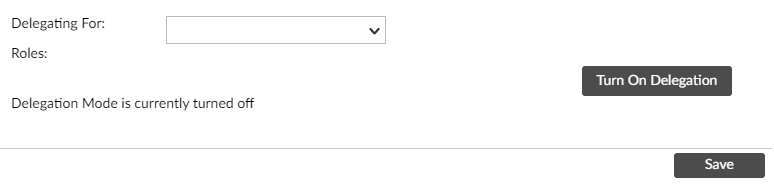
- Select the approver for whom you wish to delegate from the drop-down list. Their user roles will appear below.
- Click the
 button. Some new fields will appear.
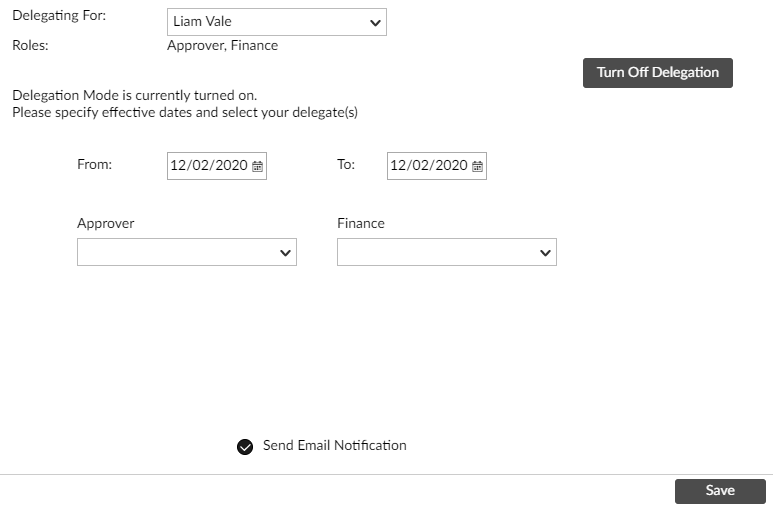
- Enter dates in the From and To fields to specify the period of delegation. You can use the calendar lookup, type the dates manually, or use standard Coins shorthand e.g. $+2w to mean “two weeks after today”.
- Select the approver to whom you wish to delegate from the drop-down list. If the delegating approver is both a management approver and finance approver, there will be a separate list for each role. You can delegate to different users for each role if you wish.
- To send an automated email to each user involved informing them of the delegation, leave the Send Email Notification box ticked. Untick the box to disable the email.
- Click
 to save the delegation period.
Editing a Delegation Period
- Right-click the delegation period you wish to edit, or left-click the period and click the menu icon , then click Edit. This opens the delegation window.
- Edit the fields as necessary.
- Click to save your changes.
Deleting a Delegation Period
Right-click the delegation period you wish to delete, or left-click the period and click the menu icon , then click Delete. The delegation period will end and the entry will be removed from the grid.