This is a new topic in 12.02.
This is a new topic in 12.03.
Content highlighted in green is new in 12.02.
Content highlighted in yellow is new in 12.03.
Uploading a Receipt from the Claim Item Window
You will usually need to provide a scanned image of your receipt for your claim to be approved.
If OCR has been enabled by your company, you can get the Expenses system to automatically scan your uploaded receipt image and auto-fill the Date, Amount and Merchant fields based on the scanned image. It will also attempt to auto-fill the Expense Type based on previously scanned receipts from the same Merchant.
You can attach multiple files if your receipt is too large to fit in one image. You can also attach other types of files, such as documents and spreadsheets, to support your claim.
To add an attachment to a claim item within the claim window:
-
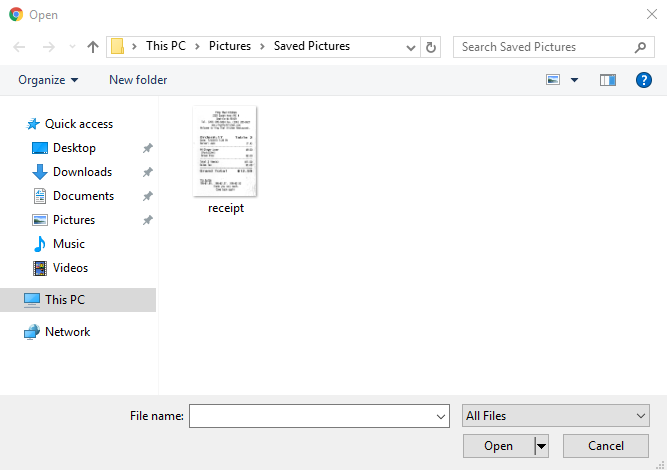
Click Browse.

-
Browse for the file you wish to attach.
-
Double click the file, or select the file and click Open. The file name will then appear where the Browse button was.

Alternatively, you can drag and drop the file from File Explorer onto the Manage Expense Claim Item window, without having to use the Browse button.

-
If OCR is enabled, the 'Allow AI to fill readable fields automatically' tick box will be ticked by default, unless you have selected the Mileage/Vehicle-based expense type. Untick the box if you do not wish to use this feature.
-
Click
 . If you approved the use of OCR, the window will be disabled for a few seconds while the scan takes place, after which the readable fields will be auto-filled.
 -
The 'Can the VAT information be read on the receipt' tick box is ticked by default once an attachment is uploaded. Untick this box if the VAT information is not visible in the image, or if the attachment is not a receipt.
-
If you have added multiple attachments, you can scroll on the right side of the screen to view them all. You can also click the 'X file(s) added' button in the top-right of the window to open the Attachments window, for an overview of the files attached to this claim item.
Uploading a Receipt from My Expense Claim Items
You can also add attachments to claim items from the My Expense Claim Items grid. Using this method, you can add attachments to claim items which have already been submitted.
-
Right-click the item to which you wish to add an attachment, or left-click the item and click the menu icon
 , then click Add Receipt(s). This opens the Attachments window for that item.
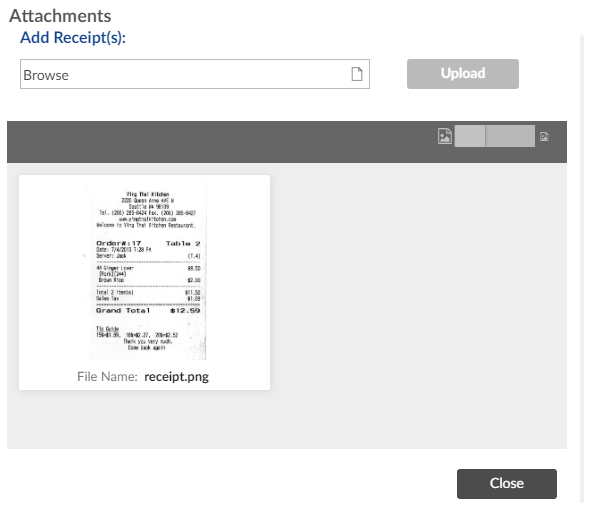
-
Add the receipt using either the Browse button or drag and drop.
-
Click
to upload the attachment.
Removing Attachments
You can delete attachments after having uploaded them to an expense claim item. This may be useful if you have uploaded the wrong file by mistake.
-
Right-click the claim item you wish to remove an attachment from, or left-click the item and click the menu icon
 , then click either Modify or Add Receipt(s).
 -
Right-click the attachment you wish to remove, then click Delete. The attachment is now removed from the item.