This is a new topic in 12.03.
This is a new topic in 12.04.
Content highlighted in yellow is new in 12.03.
Content highlighted in blue is new in 12.04.
User Groups
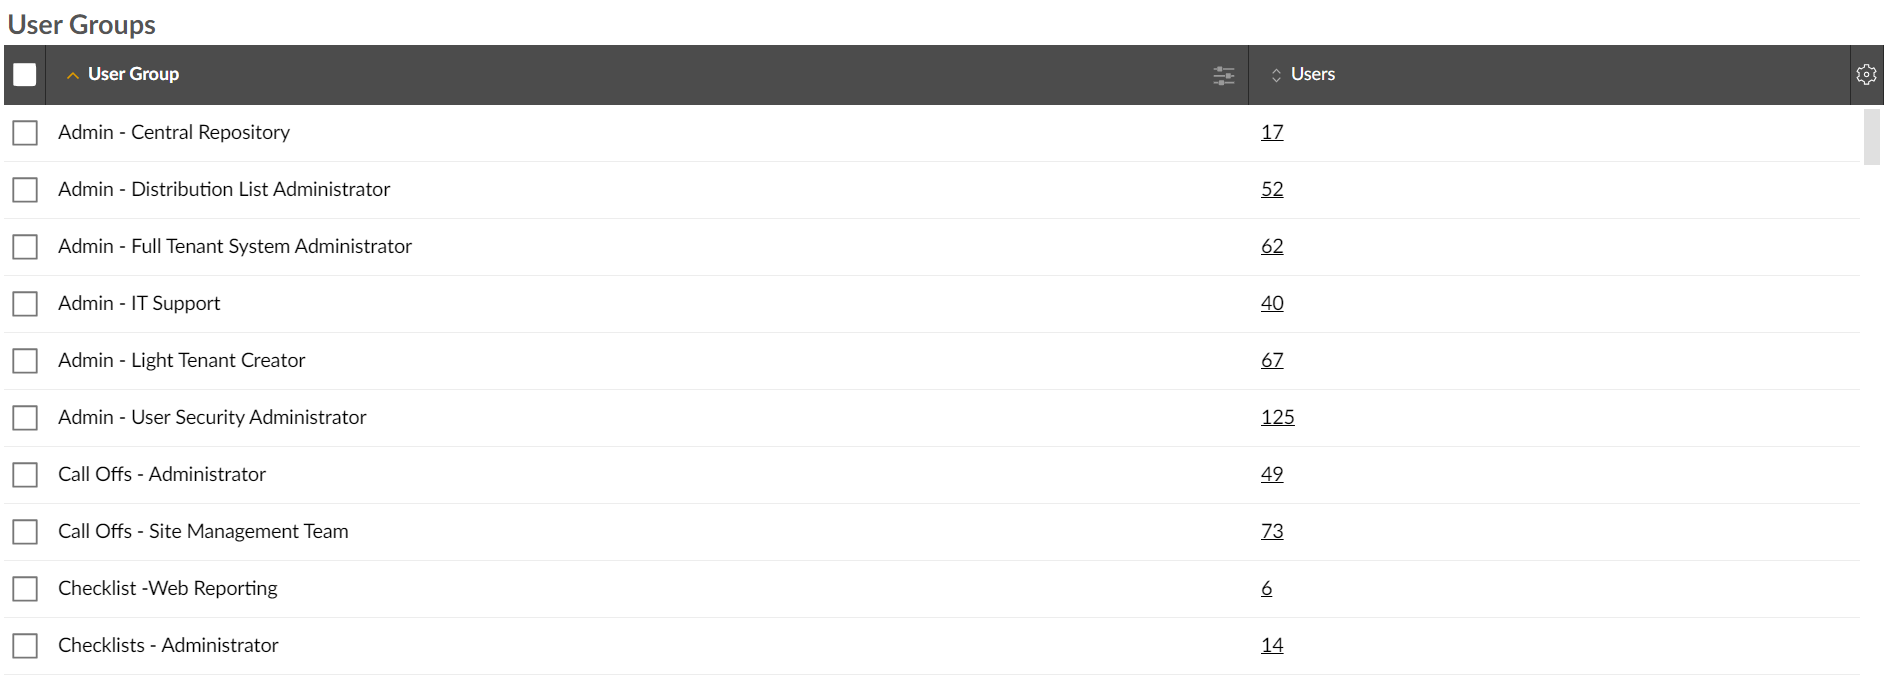
The User Groups screen contains a list of user groups to which POP Apps users can be assigned. The user groups assigned to a user define which apps, and which user roles within those apps, the user has access to. From here, you can create new user groups and modify and delete existing ones. You can also view a list of the users assigned to a group by clicking the number in the Users column.
Creating a User Group
- Right-click a user group, or left-click a user group and click the menu icon
/Menu icon.png) , then click Add New. This opens the Manage User Groups window.
, then click Add New. This opens the Manage User Groups window./User Groups_1.png)
- Enter a name for the user group.
- Click
/OK Button.png) to save the user group.
to save the user group.
Modifying a User Group Name
- Right-click the user group name you wish to modify, or left-click the user group and click the menu icon , then click Modify. This opens the Manage User Groups window for that user group.
- Edit the name.
- Click to save your changes.
Adding and Removing Roles from a User Group
- Right-click the user group for which you would like to add or remove user roles, or left-click the user group and click the menu icon , then click Manage Roles. This opens the Manage User Group Roles window for that user group.

- To add a role:
- Click the search bar to open a drop-down list containing every available user role.
- Tick the boxes next to each user role you wish to add to the user group. You can enter a search term to narrow the list if necessary.
- Click
/Add button.png) to add the selected role(s) to the user group. They will appear in the grid below.
to add the selected role(s) to the user group. They will appear in the grid below.
To remove a role:
- Right-click the role, or left-click the role and click the menu icon , then click Remove From Group. You will receive a warning message asking if you are sure.
/user Groups_4.png)
- Click
/Yes button.png) to confirm.
to confirm.
- The roles are saved instantly as you add and remove them. When you are done, click
/Close button.png) to close the window.
to close the window.
Adding Users to a User Group
-
Select the user group to which you would like to add users by ticking the box in the left-most column of the grid. You can select multiple user groups this way if you wish to add the same group of users to multiple groups.
-
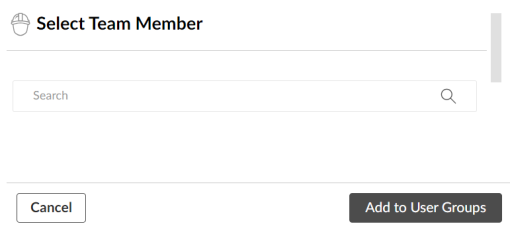
Click the Assign to Users button which appears at the bottom when a user group is selected. This opens the Select Team Member screen.
-
Use the search bar to search for users by first name, surname or email address. All matching users will be displayed in a drop-down list below the bar. To select a user, tick the box next to their name in the drop-down list. You can select as many users as you wish this way. Selected users will be displayed below the search bar after you click away to close the drop-down list. To remove a selected user, click the X next to their name, or select Clear All from the drop-down list to remove all selected users.
-
Click
 to add the selected users to the user group(s) selected in step 1.
It is not possible to remove users from user groups from this screen. To remove a user from a user group, you must go to the Users screen. See Managing Users (Modifying User Groups for a User section) for further details.
Deleting a User Group
- Right-click click the user group you wish to delete, or left-click the user group and click the menu icon , then click Delete. Alternatively, to delete multiple user groups at once, select the user groups you wish to delete by ticking the boxes in the left-most column of the grid, then click the Delete button which appears at the bottom when a user group is selected.
You will receive a warning message asking if you are sure.
/User Groups_5.png)
- Click
/Delete button.png) to confirm.
to confirm.