This is a new topic in 12.03.
This is a new topic in 12.04.
Content highlighted in yellow is new in 12.03.
Content highlighted in blue is new in 12.04.
Subcontractors Onboarding
Subcontractors Onboarding can be found under the User Administration menu section. Users need the Admin - Light Tenant Creator user role to access it.
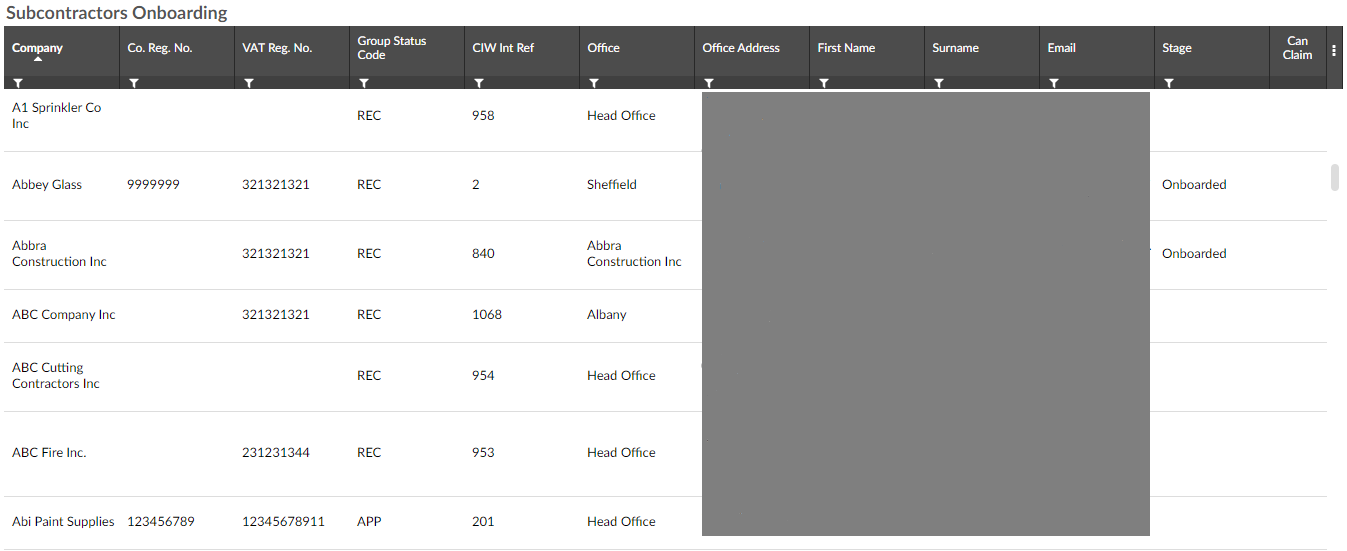
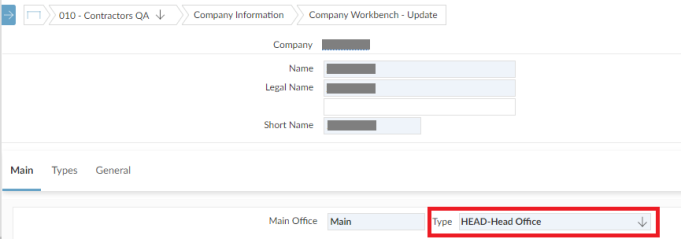
The Subcontractors Onboarding screen contains a list of subcontractors that have been onboarded or are waiting to be onboarded. They can be onboarded individually or in bulk via CSV. Note that for a company to appear in the Subcontractors Onboarding grid, the Main Office Type field in COINS ERP+ must be set to HEAD.
Sending an Onboarding Request to a Subcontractor
Subcontractors waiting to be onboarded have a blank entry in the Stage column. Note that for Australian subcontractors, they must have a valid Australian Business Number (ABN) otherwise you will not be able to onboard them. ABNs can be viewed in the Co. Reg. No. column. To onboard a subcontractor:
-
Right-click the subcontractor you wish to onboard, or left-click the subcontractor and click the menu icon
 , then click Onboard Subcontractor. This opens the Onboard Subcontractor window.
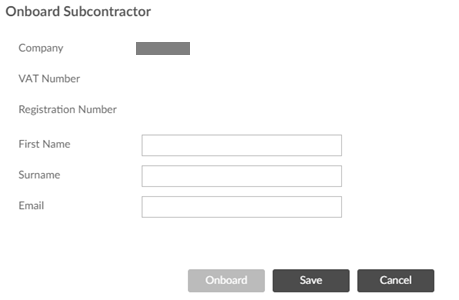
-
Enter a first name, surname and valid email address for the subcontractor. All are mandatory.
-
If your tenant is configured for HB SC Controller, "MC SC Access" users have the ability to enable a further option in the Onboard Subcontractor window: the "Subcontractor Can Make Claims" tick box. If this tick box is available, you can tick it to allow this subcontractor to make their own claims, or untick it to prevent them from making claims, in which case MC QS users will have to enter claims on their behalf. If the tick box is not available, the subcontractor will be able to make their own claims by default.
-
Click
 if you wish to save your changes, but not to send the onboarding request yet. Otherwise, to send the onboarding request, click
  . The request will be sent to the email address you entered.

Resending the Onboarding Request
If the subcontractor cannot find the onboarding email, or if it was sent to the wrong address, it will be necessary to resend the request.
To modify the request email:
-
Right-click the subcontractor whose email address you wish to modify, or left-click the subcontractor and click the menu icon
, then click Modify Request Email. This opens the Modify Request Email window.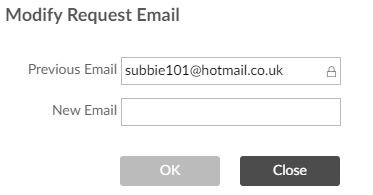
-
Enter the new email address.
-
Click
 to save.
To resend the request:
Right-click the subcontractor to whom you wish to resend the request, or left-click the subcontractor and click the menu icon , then click Re-send request. The new request will then be sent to the email specified.
Deleting a Subcontractor
Subcontractors can be deleted if they have not yet responded to their onboarding request.
-
Right-click the subcontractor you wish to delete, or left-click the subcontractor and click the menu icon
, then click Delete. You will receive a warning message asking if you are sure.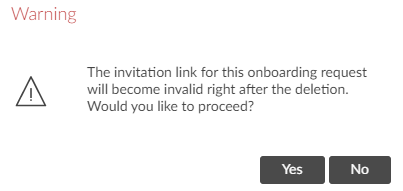
-
Click
 to confirm. The entry in the Stage column for that subcontractor will now update to Deleted.
 -
To clear out the deleted subcontractor from the Subcontractors Onboarding screen, right-click the subcontractor, or left-click the subcontractor and click the menu icon
, then click Clear Out. You will receive a warning message asking if you are sure.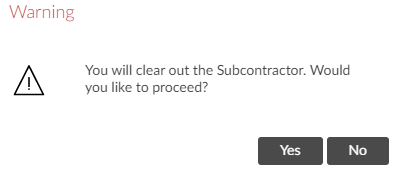
-
Click
to confirm. The subcontractor will now be removed from the list.
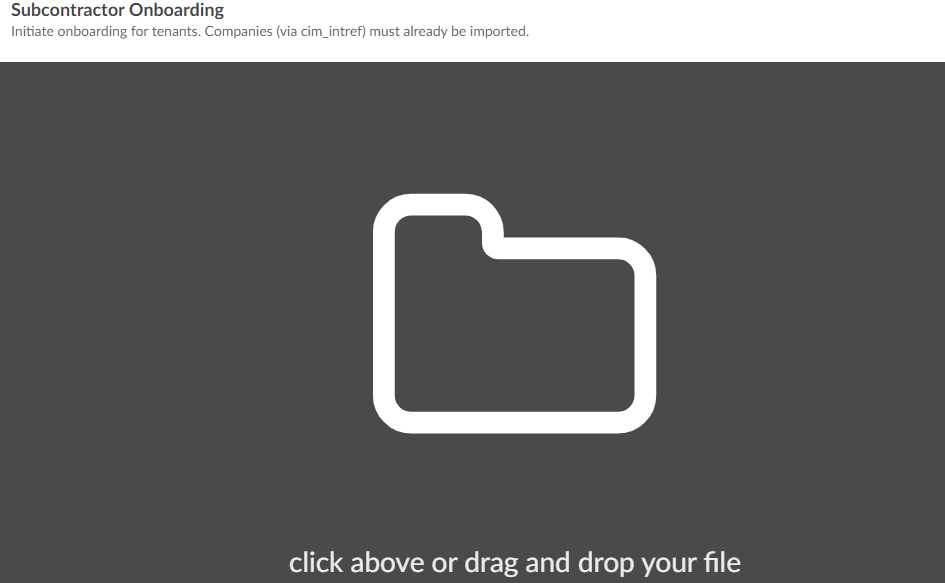
Onboarding Subcontractors by CSV
The CSV importer provides a quick way to send onboarding requests to a large number of subcontractors.
The first step is to create a CSV file containing all the subcontractors you wish to onboard. The CSV file should have the following data in each column:
|
Column |
Data |
|---|---|
|
A |
CiCompanyId – the company ID number |
|
B |
First Name |
|
C |
Surname |
|
D |
Email address – the request will be sent to this address |
Once you have the CSV file:
-
Click CSV Import – Subcontractor Onboarding to open the Subcontractor Onboarding import screen.
-
Click the dark area to open File Explorer, then find and open the CSV file. Alternatively, drag and drop the file onto the import screen. The data from the file will now be displayed in a grid.
-
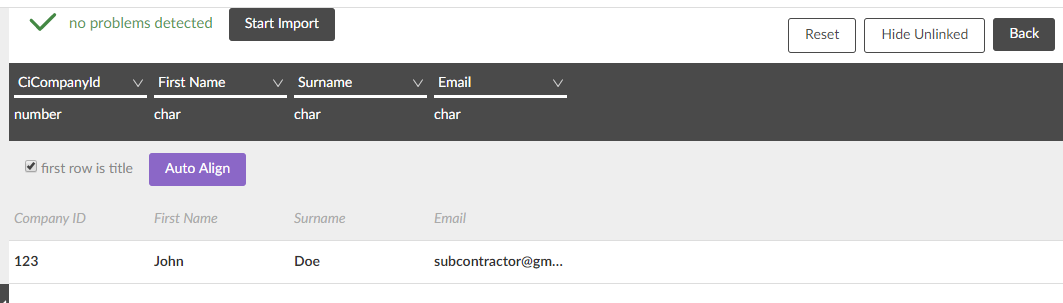
If the first row of your CSV contains column headings, tick the ‘first row is title’ tick box to ignore the first row of data.
-
If there are problems with the alignment of your data, click the
 button and the system will attempt to match the labels in your CSV to the expected columns. Click the Reset button to undo Auto Align. If Auto Align does not work, you can manually align the columns using the drop-downs at the top of the grid.
 -
Click
 to import the CSV. If the import is successful, you will receive a completion message. The requests will be sent to each of the subcontractors and they will be visible on the Subcontractors Onboarding grid.